How to Fix Toshiba Flashdisk Not Readable by Computer – GameBoxx friends, currently flashdisks are a necessity for everyone. Especially for students who really need to store data, assignments and reports are the solution using a flashdisk. With the increasing number of flashdisk brands available, the Toshiba brand is one of the types of brands that are qualified at its level.
How to Fix a Toshiba Flash Drive That Cannot Be Read by a Computer
But in some cases, that flashdisk is sometimes difficult to read on a laptop or computer. Such a thing will certainly be worrying, especially worrying about the data in it being lost. But you don’t need to worry, because there are several ways to make USB readable on a laptop or computer, for more details see the following article:
Reinstall the Toshiba USB driver
The first effective way is to reinstall the Toshiba USB driver. Usually this method is very effective in restoring the flash drive back to the beginning. However, using this method will be able to delete all files on the flash drive. Therefore, before doing that, you should back up the data first.
The steps are as follows:
Connect the flash drive to your laptop or computer.
Then, open the Control Panel menu on the Start menu.
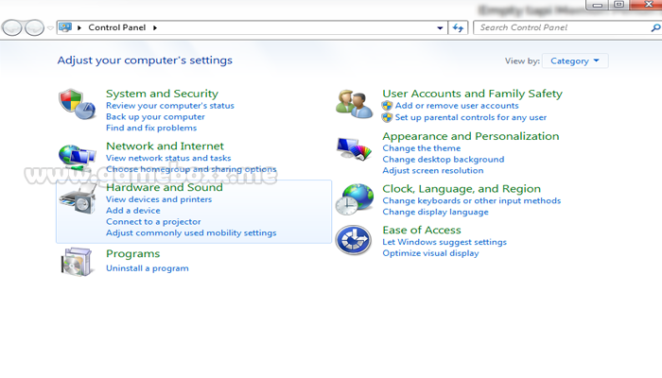
When it opens, you select Device Manager.
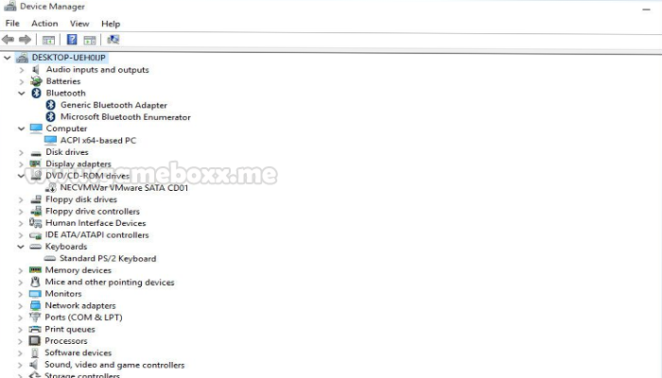
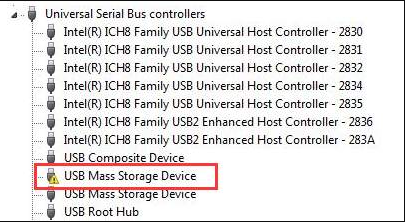
Then you can select Universal Serial Bus Controller, this option is usually located at the very bottom. When you have found it you can just click on it.
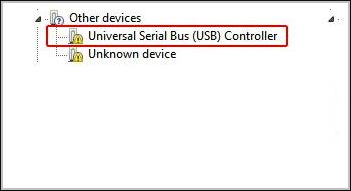
After appearing, then you open the Dropdown menu and look for the USB Mass Storage Device which generally has a yellow warning sign.
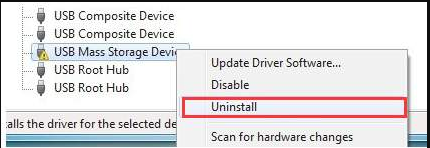
When you have found it, right click and select Uninstall.
After uninstalling, unplug the flash drive and reconnect it to the USB port. This is intended to restart the flash drive device.
By using this method, your flash drive will be installed as if it were the first time you used it. During installation, there will be a re-reading process by the laptop or computer until it can be used. If you are still unsure about the first method, then you can use the second method.
Create a partition on a flash drive
The second step is to use a partition on a flash drive, creating a partition on a flash drive. The purpose of creating this partition is so that the flash drive cannot be read perfectly by the system so that the flash drive is considered damaged. Here’s how to create a partition as below:
Connect the Toshiba flash drive to your laptop or computer.
Then enter the Start menu and type Run. In the Search section or you can press the button on the keyboard with the Win + R combination.
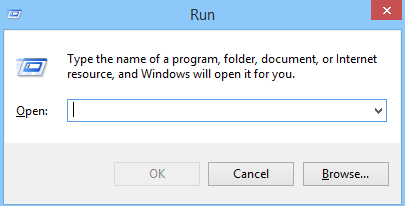
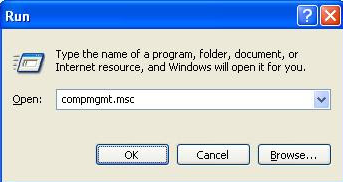
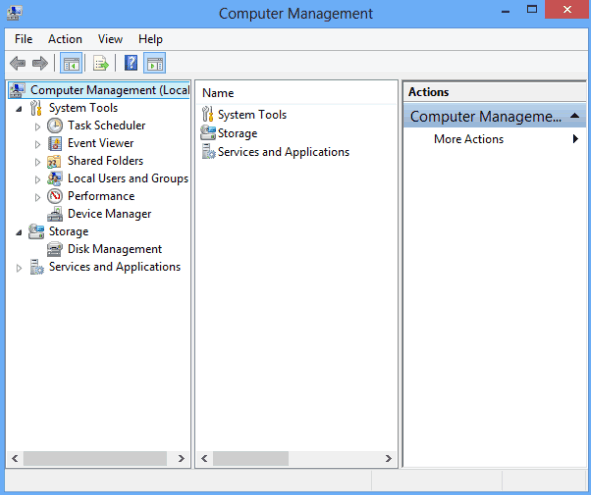
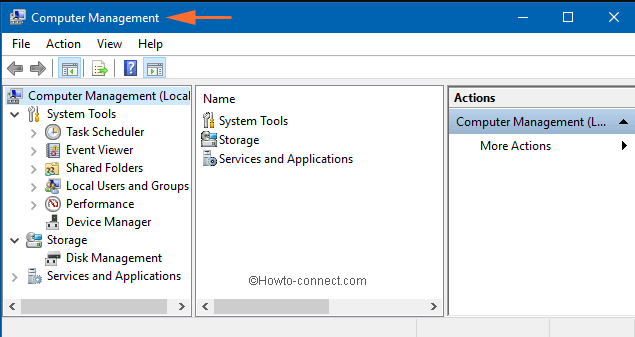
After that the Run program will run, then you type compmgmt.msc then press enter.
If successful, you will see the Computer Management display.
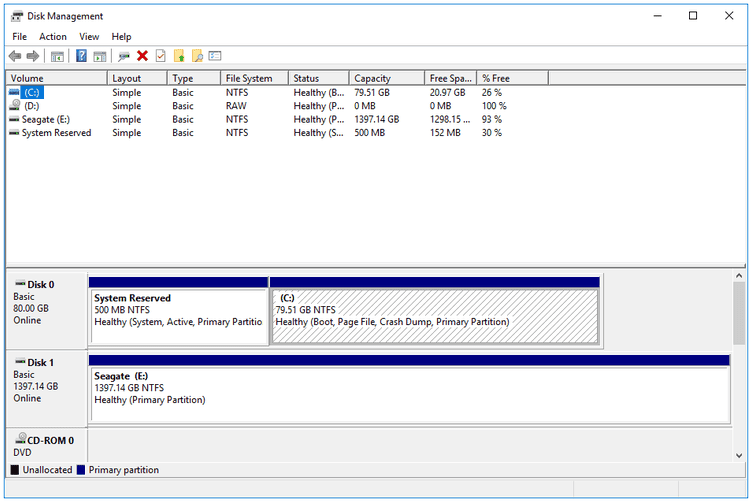
Next, you select the Storage section in the previous Computer Management display.
Then, select Disk Management that will appear after you click Storage. Later, the Toshiba flash drive that was inserted earlier will appear.
Next, you press right click on the flash disk that has been skilled and select Create Partition.
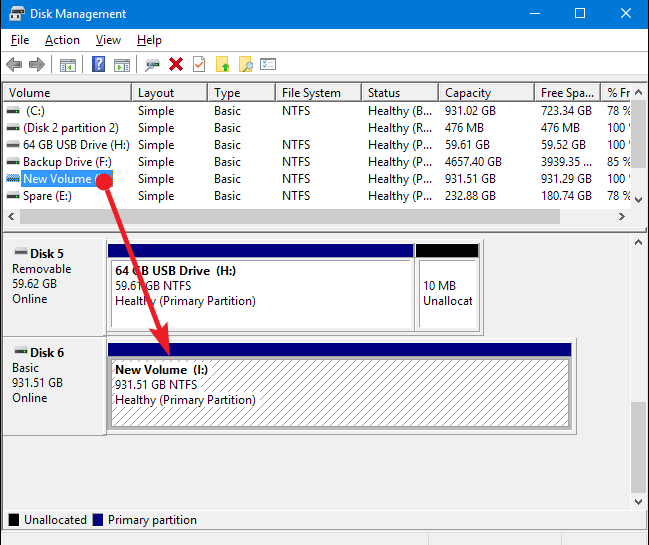
If so, wait until the process is complete, so that the flash disk can be read again.
This second stage can be tried as an alternative for a flash disk that is not read on a laptop or computer without having to reformat it. However, if you feel the need to use another application to help more, then you can try using the third method below.
Using HDD Low Level Format Tool software
To fix a Toshiba flash drive that is not readable by the computer, there is software that we recommend, namely the HDD Low Level Format Tool software. This software is quite capable of fixing a flash drive that is not readable by the computer. Here are the steps on how to do it below:
Before that, you should download the HDD Low Level Format Tool software on the Internet first. You can download it anywhere, either through Google or others.
After the application has been installed properly, the next step is to insert the Toshiba flash drive into your laptop or computer.
When it has been inserted, then you open the software first.
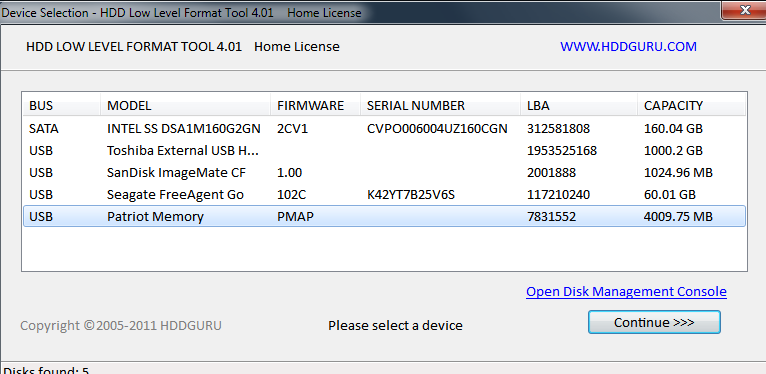
Once the software is open, you enter the Low level format tab in the HDD Low Level Format Tool application.
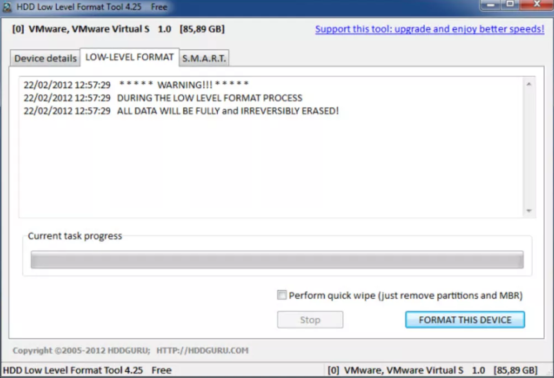
Next, check the Perform Quick Wipe section at the bottom.
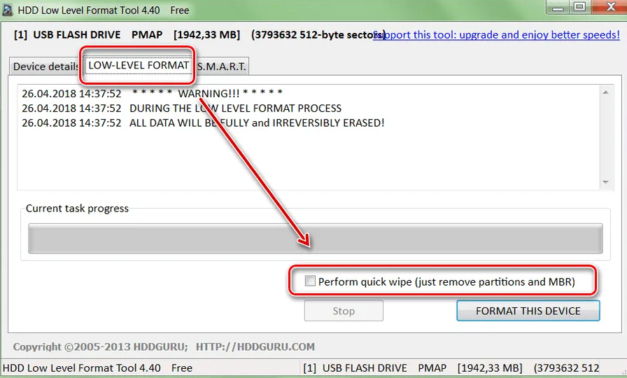
After you check, then you click Format This Device.
Wait until the process is complete.
If so, look back at My Computer whether the Flashdisk is installed properly or not.
If you feel this software is still not optimal, you can try using the next software as below.
Using the Repair 2.9.1.1 application
This software has a fairly small size, so you can use it without having to worry about reducing the hard disk memory capacity. This repair is also classified as the lightest flash disk format software ever used. In order to find out, here are the steps:
- Before that for the Repair 2.9.1.1 application on various trusted sites.
- Then insert the Toshiba flash drive that has been prepared in advance on the computer or laptop.
- When finished, you can run the repair program which later the software can detect the flash drive or not.
- If detected, then you can format the disk and wait until the process is complete.
That’s how to fix a Toshiba flash drive that can’t be read by a computer. Hopefully it can be useful and increase your insight.


