How to Overcome Preparing Automatic Repair on Windows 10
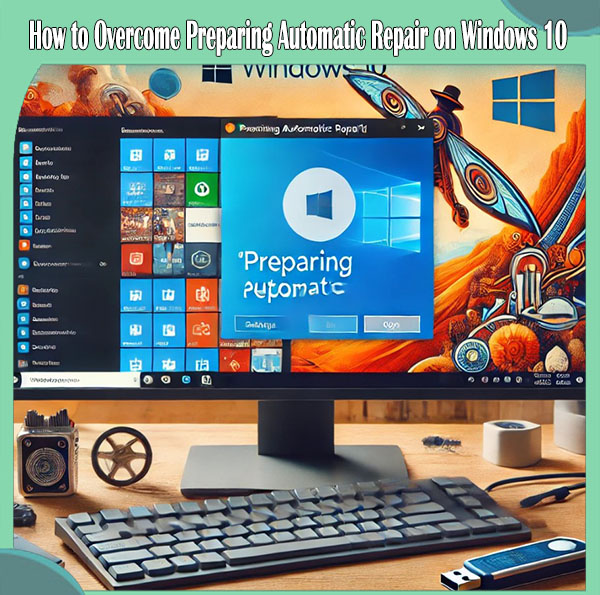
Windows 10’s “Preparing Automatic Repair” loop is a frustrating issue many users encounter. It often occurs when there’s a problem with the operating system booting up, and Windows attempts to fix it automatically. However, the repair process can sometimes get stuck, leaving users unable to access their system.
This article outlines the steps to overcome this issue, ensuring that your Windows 10 system gets back up and running smoothly.
Understanding the Problem: Why Does “Preparing Automatic Repair” Occur?
The “Preparing Automatic Repair” loop often occurs due to underlying issues such as:
- Corrupted system files
- Incompatible drivers
- Malware or viruses
- Power outages during system updates
- Disk errors or bad sectors on the hard drive
When Windows detects these problems, it attempts to repair the system automatically. Unfortunately, this repair process can get stuck, leading to a loop where the system continually restarts or displays the “Preparing Automatic Repair” screen without actually resolving the issue.
Step-by-Step Solutions to Overcome “Preparing Automatic Repair”
1. Restart the Computer
The simplest first step is to restart your computer. Sometimes, the system may recover from the loop on its own after a restart. Press and hold the power button for about 10 seconds to turn off the computer, then press it again to start the system. If the problem persists, proceed to the next steps.
2. Boot into Safe Mode
Booting into Safe Mode is a reliable way to troubleshoot and fix issues without loading unnecessary drivers or programs.
Here’s how to boot into Safe Mode:
- Restart the computer and press the F8 or Shift + F8 keys repeatedly as it starts up.
- You will see a menu; select Advanced Boot Options.
- Choose Safe Mode from the list.
Once in Safe Mode, you can scan for malware, update drivers, or perform system maintenance to resolve the underlying issues.
3. Run Command Prompt
If Safe Mode doesn’t help, you can use Command Prompt to fix disk and system file errors. To access it:
- Restart your computer, and when the Automatic Repair screen appears, select Advanced Options.
- Navigate to Troubleshoot > Advanced Options > Command Prompt.
In the Command Prompt window, use the following commands:
- Repair disk errors with CHKDSK:
bash
chkdsk /f /r
This will check for disk errors and attempt to repair them.
- Repair system files with SFC (System File Checker):
bash
sfc /scannow
This command scans and repairs corrupted system files.
4. Perform a System Restore
If the issue persists, you may need to perform a System Restore to revert your computer to a previous state when it was functioning properly.
Here’s how:
- Restart the computer and go to the Advanced Options menu.
- Choose System Restore and select a restore point from before the issue began.
This will roll back any recent changes to your system that may have caused the problem, such as newly installed drivers or updates.
Additional Solutions for Complex Issues
5. Disable Automatic Startup Repair
In some cases, disabling Automatic Startup Repair can prevent the system from getting stuck in the repair loop.
Here’s how to disable it:
- Access Command Prompt through the Advanced Options menu.
- Type the following command:
arduino
bcdedit /set {default} recoveryenabled no
- Restart the computer.
This will prevent Windows from automatically attempting to repair itself and may allow you to troubleshoot the underlying issue more effectively.
6. Use Bootable Media to Repair Windows
If none of the above methods work, you can use a bootable USB drive or DVD with the Windows installation files to repair your system.
Steps:
- Create a bootable USB drive using another computer:
- Download the Windows 10 Media Creation Tool from the Microsoft website and create a bootable USB.
- Insert the USB into the affected computer and restart it.
- Press the appropriate key (usually F12, F2, Esc, or Del) to access the boot menu and select the USB drive.
- Choose the Repair your computer option from the Windows setup screen.
From here, you can use Startup Repair, restore your system, or even reinstall Windows 10 if necessary.
7. Reset the PC
If all else fails, you may need to reset your PC. This will reinstall Windows, and you can choose to either keep your personal files or remove everything.
To reset your PC:
- Go to the Advanced Options menu and select Troubleshoot > Reset this PC.
- Choose whether to keep your files or remove everything, and then follow the prompts to complete the process.
This method will essentially give you a fresh start and often resolves the “Preparing Automatic Repair” issue.
Prevention: How to Avoid the Automatic Repair Loop in the Future
To minimize the chances of encountering the “Preparing Automatic Repair” loop in Windows 10, here are some best practices to follow:
-
Regularly Update Drivers and System Software
Keeping your drivers and system software updated is essential. Microsoft frequently releases patches that address security vulnerabilities, bugs, and compatibility issues. You can ensure your drivers are up-to-date by:
- Visiting the manufacturer’s website to download the latest drivers for your hardware.
- Using Windows Update, which automatically installs the latest updates for your operating system and drivers.
-
Run Disk Checks Regularly
Disk errors are a common cause of the automatic repair loop. To prevent such issues, regularly check your disk for errors. You can do this by running the “chkdsk” command, which scans your hard drive and fixes any file system issues:
- Open the Command Prompt as an administrator.
- Type
chkdsk /f /rand press Enter. - Restart your computer to allow the system to check for errors.
-
Perform Regular Backups
Backing up your system ensures that you won’t lose important data if your computer faces issues. Regular backups give you peace of mind and provide an easy way to restore your files in case of system failure:
- Use Windows 10’s built-in Backup and Restore tool.
- Consider third-party backup tools for more flexible options.
- Monitor System Health
Tools like Windows Defender or third-party antivirus software can regularly scan your system for malware or performance issues. By catching viruses or corrupt files early, you reduce the risk of the system falling into an automatic repair loop:- Schedule regular virus scans.
- Clean up unnecessary files and run disk defragmentation to keep your system running smoothly.
-
Avoid Forced Shutdowns
Abruptly turning off your computer while it’s performing critical processes, like updates or file transfers, can cause serious system issues. Always allow your computer to shut down properly to avoid file corruption:
- If your system is unresponsive, try pressing Ctrl + Alt + Delete and restarting from the menu.
- Avoid pressing the power button unless absolutely necessary.
-
Use System Restore Points
Windows 10 has a built-in System Restore feature that allows you to create restore points. By periodically creating these points, you can revert your system to a previous working state if something goes wrong:
- Enable System Restore and create restore points before installing major updates or new software.
- This gives you a safety net if something corrupts the system.
-
Maintain Proper Disk Space
Running out of disk space can cause system instability and contribute to errors like the automatic repair loop. Keep an eye on your storage and clear unnecessary files regularly:
- Use Windows Disk Cleanup to remove temporary and unnecessary files.
- Consider upgrading your hard drive if you consistently run low on storage.
By implementing these preventive measures, you can significantly reduce the chances of encountering the “Preparing Automatic Repair” loop and keep your Windows 10 system running smoothly.
That’s it, hopefully it’s useful, thank you


